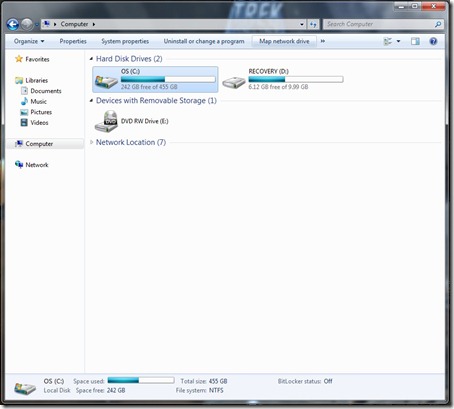
Mapping a network drive in Windows 7 is similar to Windows Vista, firstly you need to navigate to the Computer window in Windows Explorer, this should display a list of your hard disks and removable drives in a similar style than below. You then need to click on the ‘Map network drive’ button to start the wizard.
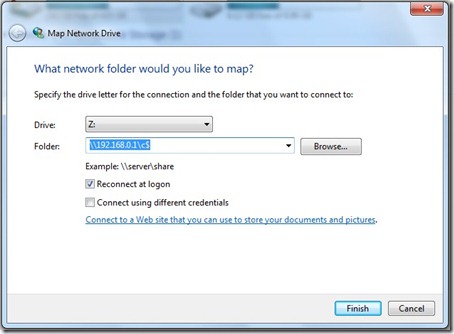
Here you then select the drive you want it to appear as and the folder to share it as, you can also configure options regarding reconnecting to the drive at logon and/or to connect using different network credentials. Completing the wizard will add the drive in your Computer window in Windows Explorer.

